In a wind tunnel, the diffuser serves an essential function by managing the airflow as it exits the test chamber, where the experiments take place. Its primary role is to slow down the fast-moving air, transforming its high velocity and low pressure into a slower, higher-pressure flow. This process is crucial for the efficient operation of the wind tunnel, ensuring that the air can be safely and effectively recirculated or expelled. By controlling the speed and pressure of the airflow, the diffuser plays a pivotal role in the tunnel’s ability to simulate real-world aerodynamic conditions accurately.
The design of the diffuser directly impacts the wind tunnel’s overall efficiency. It recovers some of the kinetic energy from the airflow, converting it back into pressure. This energy recovery is not just about improving the wind tunnel’s energy usage; it also stabilizes the airflow for its journey back to the start of the circuit or before it is released.
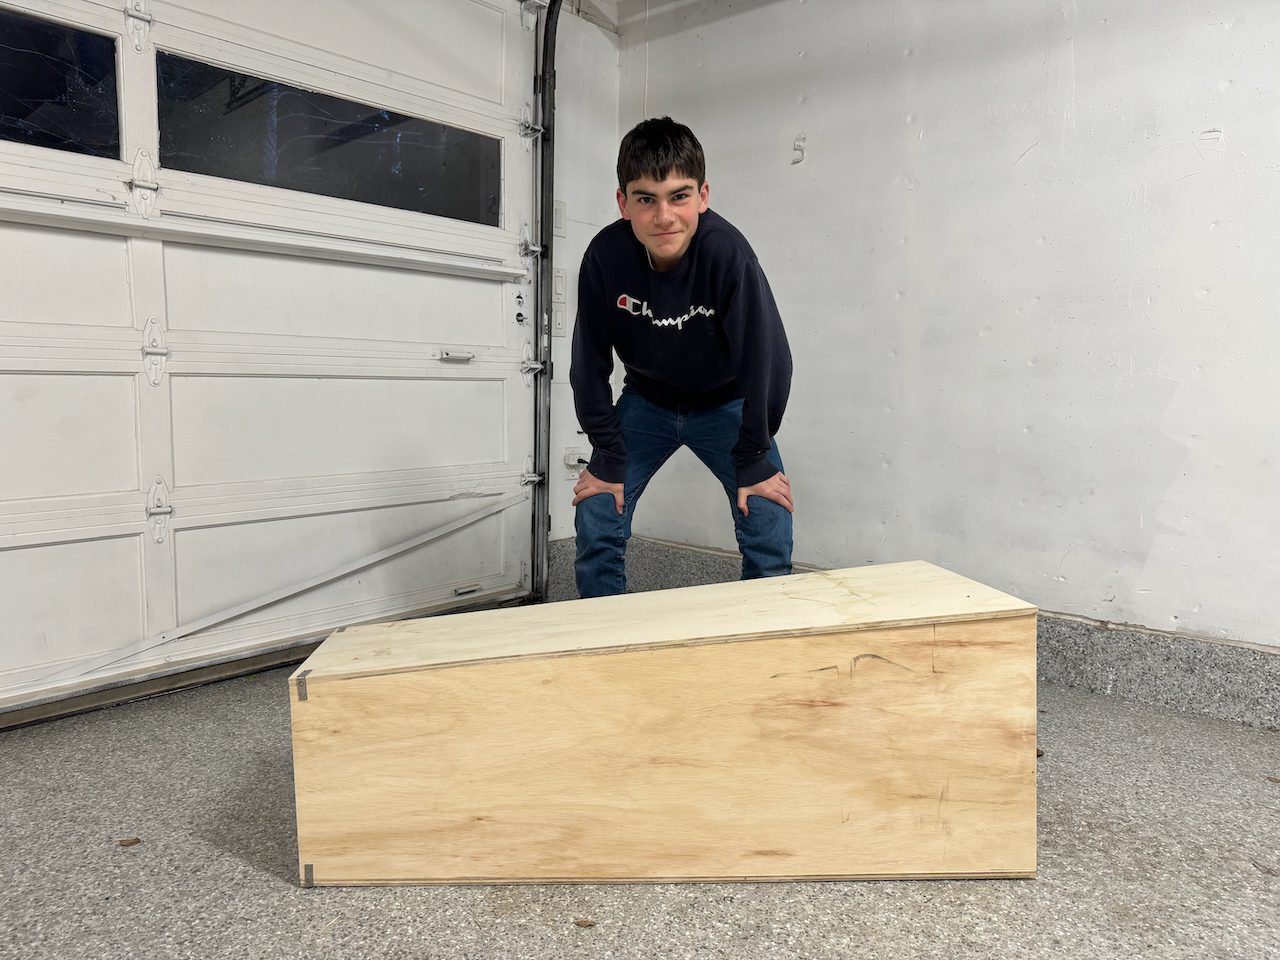
Materials and Plywood Cutting
The journey of building the diffuser for my wind tunnel began with a trip to the local hardware store, where I sourced high-quality, thick plywood. The choice of material was crucial for ensuring durability and the ability to withstand the pressure differences created during operation. With the help of precise cutting tools and a detailed plan, each piece of plywood was cut to exact dimensions to form the four sides of the diffuser. This step required careful measurement and steady hands to ensure that each piece would fit together perfectly, forming the tapered shape essential for its function.


Assembly and Structural Support
Assembly of the diffuser involved more than just aligning the cut pieces; it required a robust system to hold everything firmly in place. Braces were strategically placed and attached to the inner sides of the plywood sheets, providing the necessary support and rigidity. Given the diffuser’s significant weight and size, this stage was particularly challenging. Aligning it with the test chamber required precision and patience, as any misalignment could affect the wind tunnel’s efficiency and the accuracy of the data collected.

To ensure stability and ease of integration with the rest of the wind tunnel, I constructed a bespoke plywood stand. This stand was not only designed to support the weight of the diffuser but also to facilitate a seamless connection with the test chamber. Bolting the diffuser to the stand required careful planning and execution, making sure that every component was perfectly aligned and securely fastened.

Fan Installation and Safety
Following the diffuser’s installation, attention shifted to incorporating the fan, a critical component for generating airflow. A 12-inch circular hole was cut into a piece of plywood, meticulously measured to match the fan’s dimensions. This mounting strategy allowed for a snug fit, minimizing vibration and noise.

For safety, a protective metallic grid was installed over the fan, preventing accidental contact with the moving blades. I chose a fan with adjustable speed settings, allowing for precise control over the airflow, a feature that would prove invaluable in conducting various aerodynamic experiments.


Check out the other Wind Tunnel posts:
- Part 1: building the test chamber
- Part 2: the diffuser including the fan
- Part 3: the concentrator
- Part 4: the measurement station
- Part 5: the Arduino hardware and software