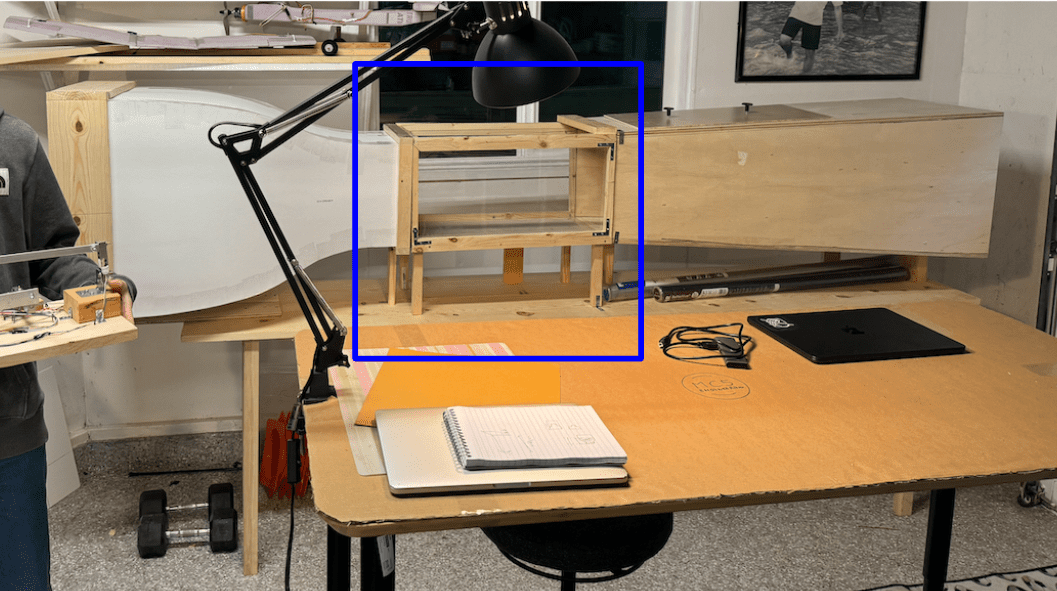
The test chamber is where the experiments are taking place. It’s a central part of the design as it is connected to all the other components of the wind tunnel.

Building the Frames
I bought a few standard boards from Home Depot of all sizes for this project and started building two frames using the exact dimensions provided in the Coggan paper. It’s also important to get a good selection of braces and brackets to assemble it all.

Cutting the frames to the exact dimensions was challenging but eventually the two initial frames looked right.

The two polycarbonate panes at the Home Depot were of the perfect dimensions and didn’t need to be cut (12 in by 24 in). They were assembled directly on the frames, and the entire test chamber was nailed to a long table made out of two plywood boards with 4 legs, again, from the Home Depot.

Here is a view from the inside of the chamber. The base board is a thing pre-cut 12 in x 24 in sheet you can find for less than $10. Caulking was also added to seal the chamber.

Check out the other Wind Tunnel posts:
- Part 1: building the test chamber
- Part 2: the diffuser including the fan
- Part 3: the concentrator
- Part 4: the measurement station
- Part 5: the Arduino hardware and software