Today, I embark on an exciting journey to bring a piece of the aerospace world into my very own garage – by building a wind tunnel! Below is the Wright Brothers’s own wind tunnel from 1901.
Decades later, NASA scaled up the same concept into the massive full-scale wind tunnel at Moffett Field.

Inspiration from YouTube and Research
The idea took flight after hours of diving into YouTube tutorials and reading research papers on aerodynamics and wind tunnel experiments. One inspiration for me is the work of James Wadhwani from Purdue Aerospace Engineering, with his great YouTube video you can watch here. He built a wind tunnel in his living room, using an Arduino to collect data and run experiments.
James got his own inspiration from a research paper from Professor Andrew R Coggan. The paper is very detailed and I used it as a reference throughout the project. I want to thank Professor Coggan for this amazing document.
Project Goals
My goal for building a wind tunnel is twofold. First, I want to deepen my understanding of aerodynamics by experimenting with various wind designs. The wind tunnel will serve as my laboratory, where theories meet the test of reality. By observing how air flows around different objects, I can explore the principles that keep planes in the air, cars on the road, and even affect sports equipment performance.
Second, I aim to use this project to enhance my skills in engineering and design. Building a wind tunnel from scratch is no small feat—it requires careful planning, precise construction, and a lot of troubleshooting. I anticipate learning a great deal about materials, electronics, and the software needed to analyze data from the experiments.

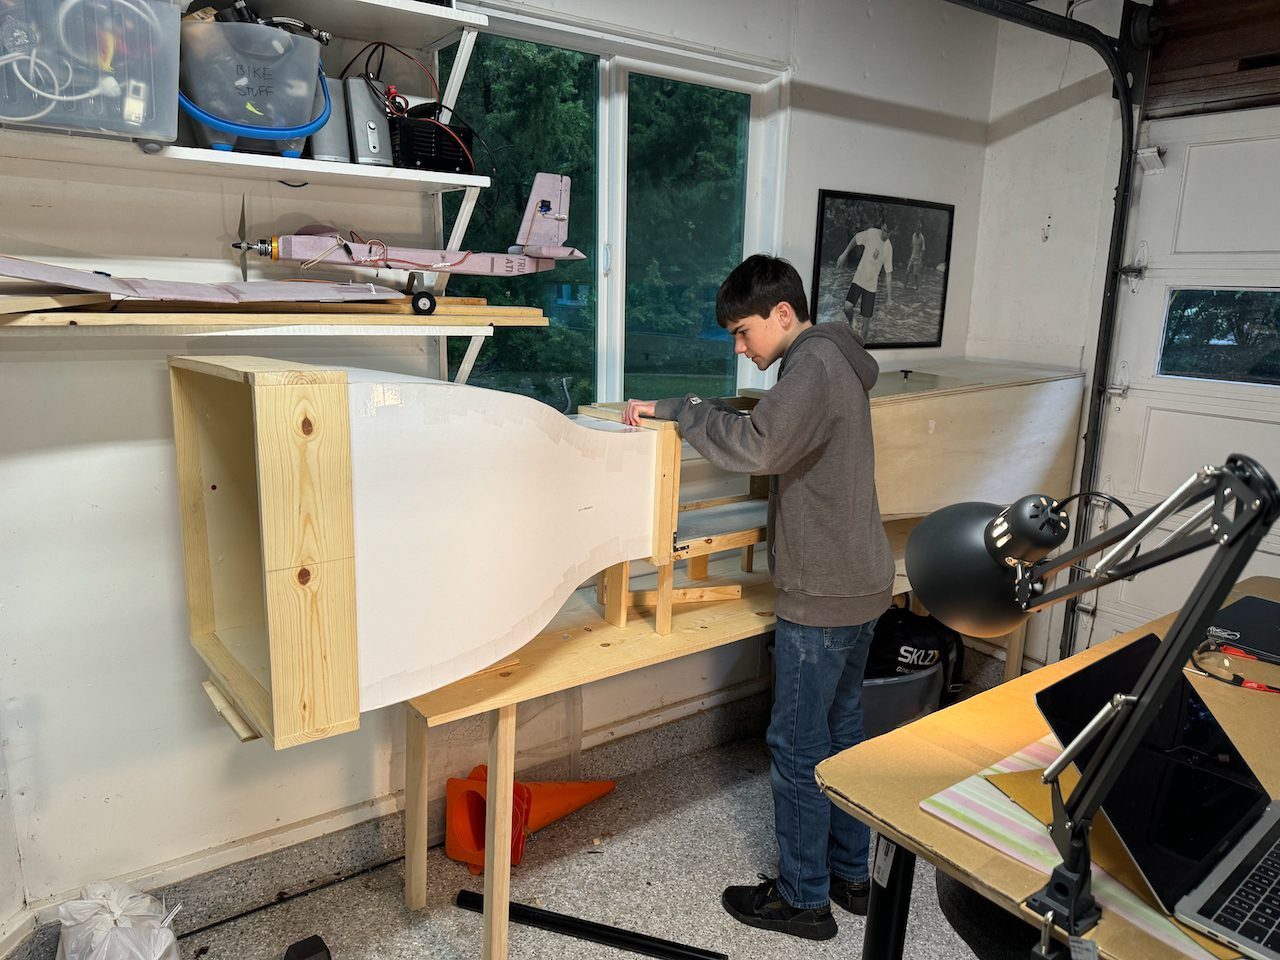
To explain how I built my wind tunnel, I will divide the project in 5 parts:
- Part 1: building the test chamber
- Part 2: the diffuser including the fan
- Part 3: the concentrator
- Part 4: the measurement station
- Part 5: the Arduino hardware and software