Today I started building a new drone. My goal is to use it to attach sensors to it and gather atmospheric data. This is going to be a large drone with significant payload. I am really excited.

Parts List
I bought all the parts on Amazon.com and I am following a steps from a Udemy class I took over the summer on drone building. The class is called “Make an Open Source Drone” and here is the link to it.
Here are the parts I bought to make this drone:
- The Powerday® F450 HJ450 4-Axis for Quadcopter Frame Airframe Kit
- RadioMaster TX12 MKII 16CH ELRS EdgeTX Hall Gimbals Radio Transmitter Remote Control (TX12 MKII ELRS Mode 2)
- Radiomaster ER6 PWM Receiver 2.4G 6CH 100mw CRSF Support Voltage Telemetry WiFi Update for Fixed Wing Aircraft
- Lipo Charger H B6 RC Charger LiPo Battery Balance RC Car Charger Discharger for LiPo/Li-ion/Life Battery(1-6s) NiMH/NiCd (1-15s) RC Hobby Battery Balance Charger 80W 6A XT-60/JST/Deans Connectors
- BNTECHGO 10 Gauge Silicone Wire 3 ft red and 3 ft Black Flexible 10 AWG Stranded Tinned Copper Wire
- DECOHS 6 PCS Polyurethane Foam Sheet-16x12x1 Inch Cuttable Foam Inserts for Cases-Packing Foam Pads for Toolbox Camera Storage and Crafts
- QWinOut A2212 1000KV Outrunner Motor + 30A ESC + 1045 Prop Propeller for F450 F500 F550 DIY Drone Kit (6 Set)

Soldering and Assembly
Starting with the base plate from the airframe kit, we need to solder the wires for power distribution from the battery to each of the motors. If you’re like me one thing you find challenging is soldering wires and connectors. The best technique I found was to melt down as much wire as possible first, then drop the bubble onto the part to be soldered.

Here you see how I am connecting the power bus (negative electrode). The solder wire I got is a bit too thin, and I needed to be patient melting enough of it for a good “droplet” to form and stick to the plate.

Assembling the motors is straightforward. The wiring has to be right but it’s easy to read the documentation if you are not sure. Once the motors are properly mounted, they can be connected to the base frame and the current distribution wires are soldered earlier.

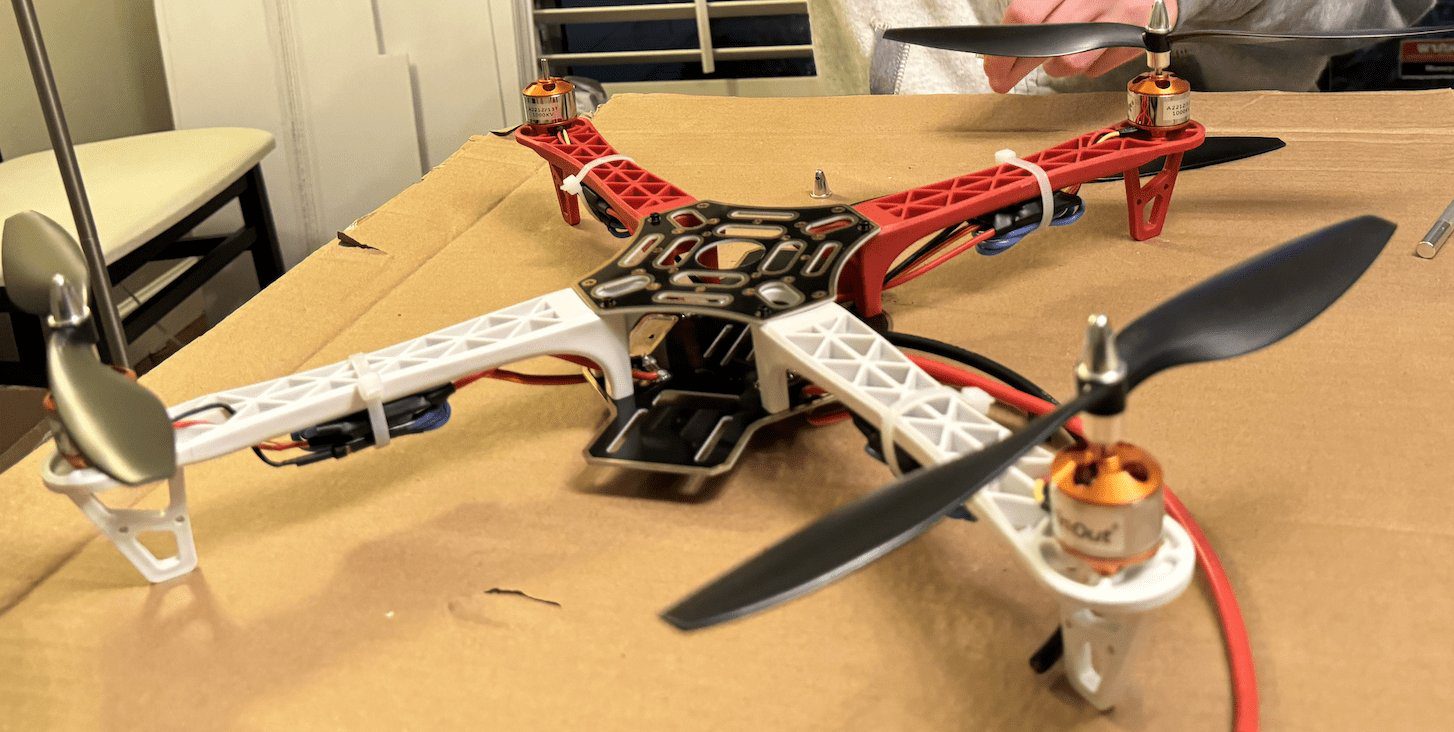
There is still much work to be done, but just for fun I mounted the propellers on each engine.

The core setup is complete. More to come!



Leave a Reply