Initially after testing lift and drag through my first iteration of the wind tunnel, the data proved to be unusable as a couple of critical flaws, caused false readings, including friction, excessive weight, and airfoil build quality.
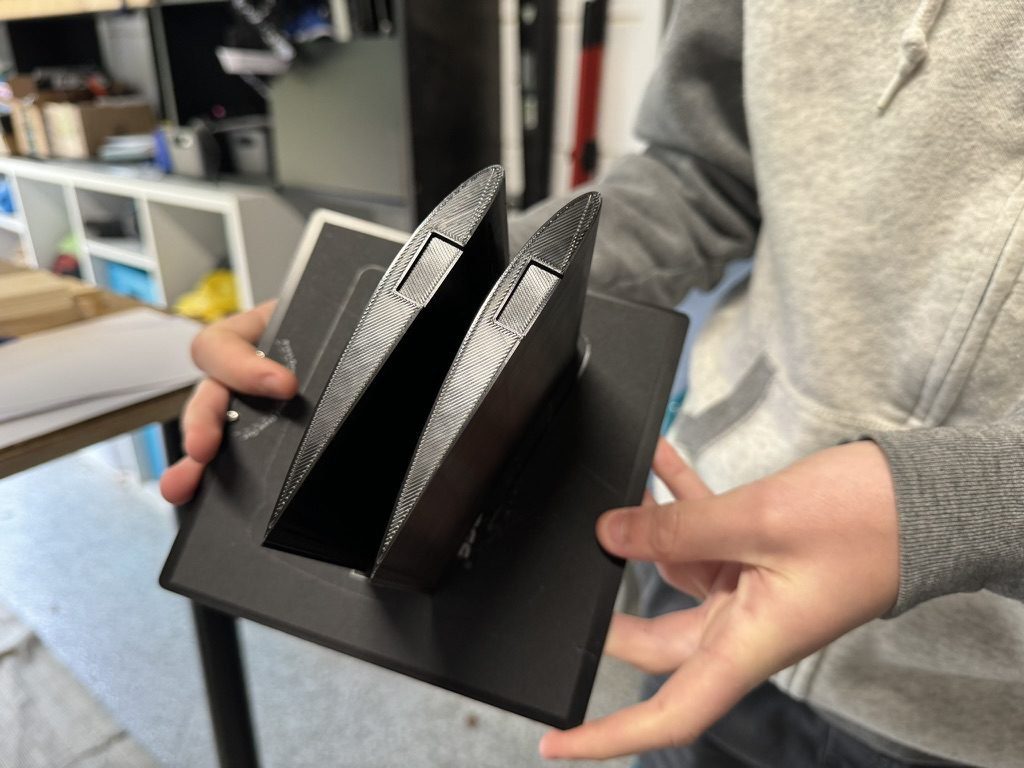
To start, when I ran the first initial tests, I noticed that despite having no airflow over the wing, when I changed the angle of attack of the wing, the lift reading would oddly change despite not explanation. When I investigated I realized that my first initial mechanism had too many moving parts, causing additional friction and variation in the results of tests. In order to fix, I made several changes, including fitting new bearings of proper size, simplifying the data gathering mechanism so that it only relied on a singular support and reducing the weight of the mechanism.


In order to reduce the system’s friction, I opted for a metal to metal contact, which would provide less friction, compared to the initial metal to wood.

Lastly, I used my CAD skills to model out common wings such as the NACA 4412, which the Citabria uses, in order to give the best results, which I could verify with the aircraft’s true data.


After making all these changes, my hard work payed off, as can be seen in the video below with the laminar flow produced over the wing.
What makes this video quite interesting is the, the point in which the wing stalls and the laminar flow is broken. Initially, at lower angles of attack the strings stick to the wing as the air is laminar. However, as the angle of attack reaches the critical point, it separates the airflow, causing vortices and a stall, as can be seen by the string right above the wing moving uncontrollably.
Below is some of the data I gathered with my new modifications and it looks bit more promising.


13.5 Degrees Celsius
78% Humidity
28.98 In Hg
Airspeed 6.05 m/s
Wind Tunnel Build Series
- Introduction: Building a Low-Speed Wind Tunnel
- Part 1: The Test Chamber
- Part 2: The Diffuser
- Part 3: The Concentrator
- Part 4: The Measuring Station
- Part 5: Setting up Arduino
- Part 6: First Experiments and Improvements
- Fine Tuning and Experiments